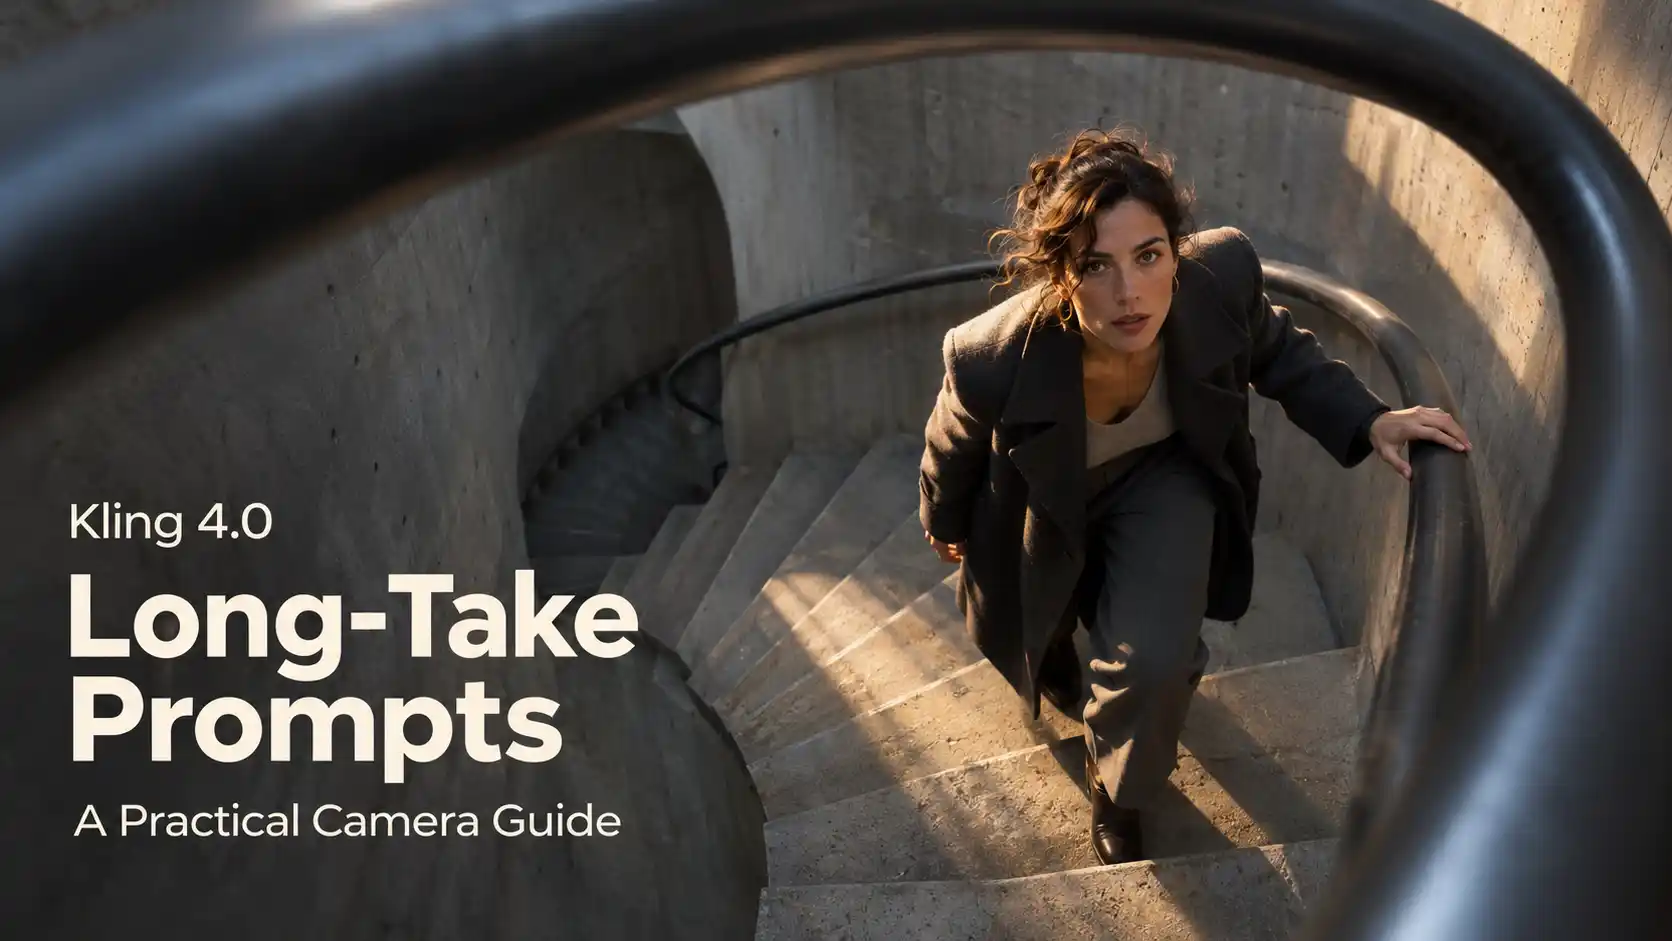
A continuous shot needs clear direction from its opening frame to its final composition. The prompt should explain how the action develops, how the camera moves, and what remains consistent.
This guide builds a practical framework for Kling 4.0 long-take prompts, then applies it to complete video examples.
TL;DR: Kling 4.0 Long Take Guide
Continuity depends on connected movement and space. A longer duration alone does not establish an uninterrupted take.
Direct the subject and camera separately. Give each a direction, pace, and ending state so their movements can work together.
Use time ranges to communicate rhythm. They express intended pacing, not guaranteed frame-accurate execution.
Define what must remain consistent. A useful prompt names the essential visual details without burying the action in extra instructions.
Plan the final composition. Explain how the movement settles and what the audience should still be able to see.
Try Kling 4.0 Generator Online
What Makes an AI Video a Continuous Long Take?
Keep the action, space, and viewpoint connected.
A long take presents an event through an uninterrupted camera view. The camera can remain stationary or move through the scene. A long shot describes wide framing rather than duration.
Kling 4.0 supports generation up to 30 seconds and notes that multi-shot planning is enabled by default. Make the continuous-shot requirement explicit, then review whether the generated viewpoint and action remain connected.
Check three things across the complete clip:
Viewpoint: no unexplained angle changes or jumps.
Space: subjects and visual anchors maintain coherent positions.
Action: movement connects from preparation through completion.
For broader capabilities and limitations, see the Kling 4.0 review.
How to Write Kling 4.0 Long-Take Prompts
Describe where the camera goes and when the action changes.
Establish the Opening
Start by answering four questions:
Where is the main subject positioned?
In which direction will the action develop?
What must remain inside the frame?
How much space is available for movement?
With a first-frame image, describe the subsequent changes and the details to preserve. For text-to-video, establish the opening scene and spatial relationships in the prompt itself.
Separate Subject Direction from Camera Direction
Give the two parts their own instructions:
Subject direction: the action sequence, movement speed, pauses, and final state.
Camera direction: the starting view, route, pace, framing, and stopping point.
Camera angle, framing, and movement are separate choices. Specify the viewpoint, how much of the scene stays visible, and how that composition changes over time.
Camera instruction | What it describes |
Fixed camera | The viewpoint stays in place |
Push-in | The camera moves closer |
Pull-back | The camera moves farther away |
Lateral tracking | The camera travels sideways through the space |
Arc movement | The camera follows a curved path around the subject |
For any moving shot, include a route, a pace, and an endpoint. Connect changes in framing through that route so the instructions describe one continuous view.
Connect the Action and Control the Pace
Define the final framing before generation. State what remains visible and how the movement comes to rest.
Reusable Prompt Template
Replace the bracketed details with your scene:
Take: Create a [duration]-second video in one uninterrupted take.
Opening: Begin with [subject positions and composition].
Action: The subject [ordered actions], allowing [pause or reaction] before [next action].
Camera: Start at [position], move along [path], and stop at [final framing].
Continuity: Preserve [essential appearance, props, and spatial details].
Sound: Use [ambience, action sounds, and music direction]. No unwanted on-screen text or subtitles.
Use this structure to build Kling 4.0 camera movement prompts, then compare the complete output with the intended sequence.
Five Kling 4.0 Long-Take Prompt Examples
Give every camera move a clear visual job.
About the examples: these briefs are designed for 10-second videos. The observations reflect the creator’s playback review and do not establish repeatability or full 30-second continuity. Sound direction and exact timing remain separate checks.
Product Unboxing: Keep the Headphones Recognizable
Playback finding: the product maintained its appearance and proportions throughout the reviewed clip. That consistency matters when the footage is meant to promote a recognizable item.
Start with the headphones partly visible in a plain box, hands ready to open it, and a stand within reach. Leave enough space above the box for the lift.
Prompt
Take: Use the supplied image as the opening frame of a 10-second product-unboxing video in one uninterrupted take at natural speed.
Action:
0–2s: Open the plain box.
2–5s: Lift the matte-black headphones with both hands and turn them a quarter turn.
5–8s: Lower them onto the nearby stand.
8–10s: Withdraw the hands and hold a clear product view.
Camera: Maintain a three-quarter tabletop view. Move through a small, smooth arc, then settle. Keep the complete headphones and hands visible. Preserve the product’s shape, proportions, headband, ear cups, color, and material.
Sound: Delicate cardboard, tray, sleeve, and placement sounds synchronized with handling, over faint room tone. No music, dialogue, subtitles, on-screen text, or logos.
Creative extension: leave space for product copy.
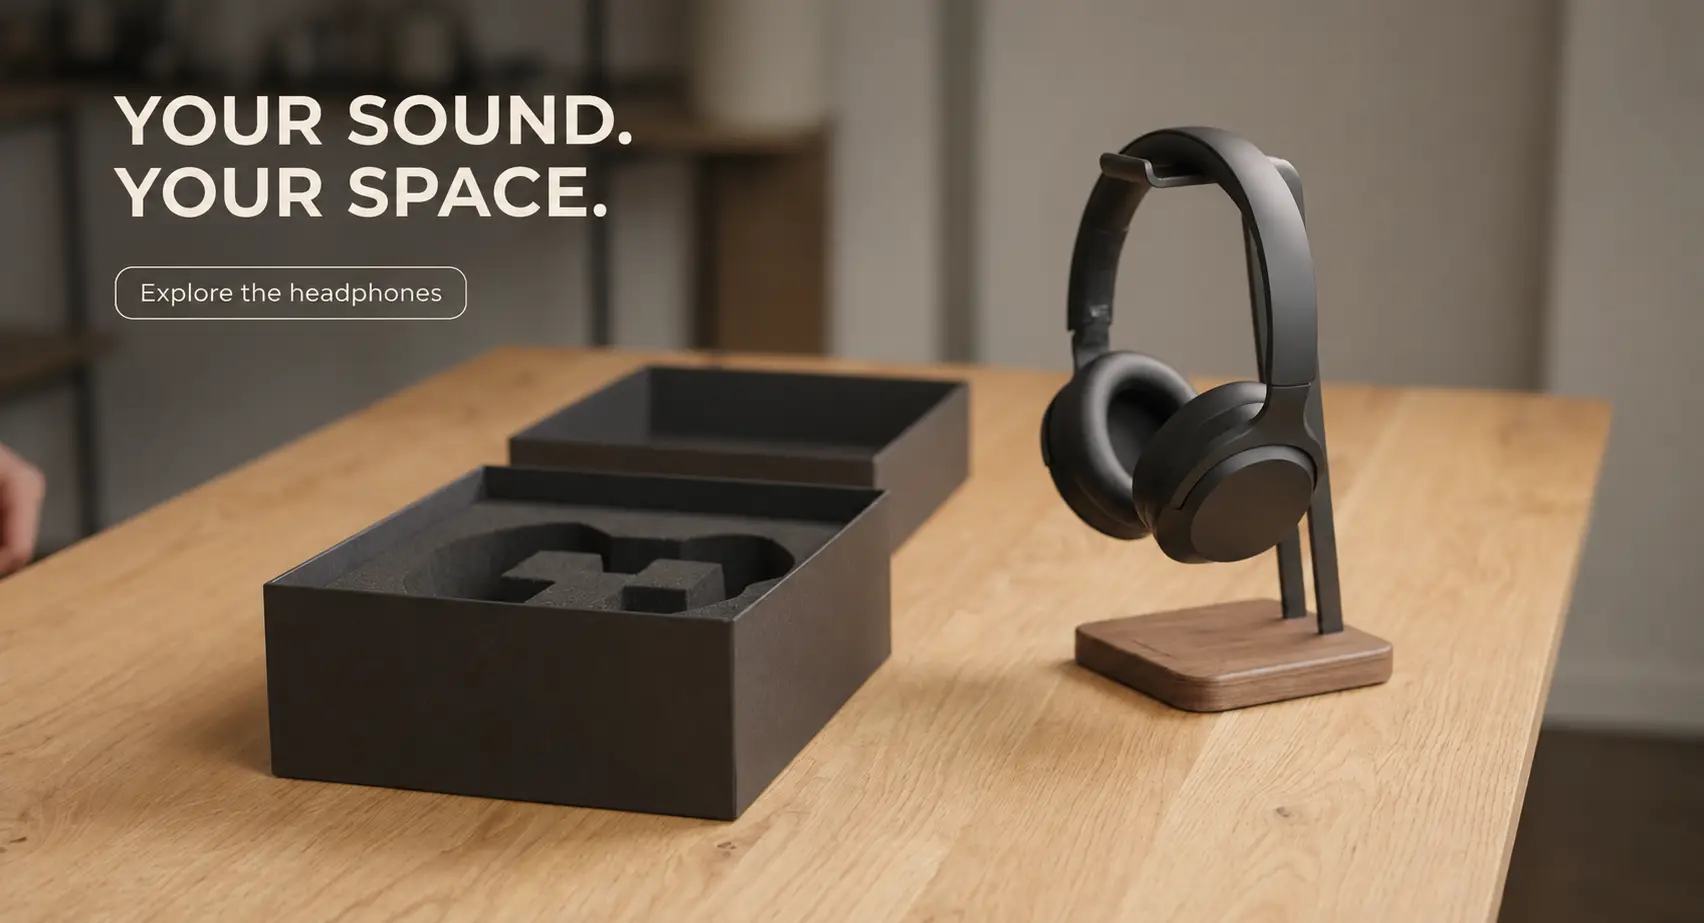
Let the shot finish as a product ad. In this end frame, the headphones sit on the right, while the open packaging fills the lower-left foreground. Use the softer upper-left background for a short message, keeping the product and unboxing details unobstructed.
For a 10-second clip, reserve the final two seconds for this composition:
During the final two seconds, let the camera settle with the headphones clearly visible on the right. Preserve the product’s shape, proportions, and lighting. Keep the upper-left background clear for a short headline and CTA, with the copy positioned above the packaging.
The rendered example shows the proposed closing layout; the animated text is a suggested finishing treatment.
Coffee Preparation: Follow the Pour to a Finished Cup
Playback finding: the coffee example maintained stable physical behavior. The teaching opportunity is to keep the process visible from the start of the pour to the finished cup.
Prepare espresso in a plain cup, with the pitcher above it. The opening angle should reveal both the spout and the liquid surface.
Prompt
Take: Use the supplied image as the opening frame of a 10-second coffee preparation video in one uninterrupted take at natural speed.
Action:
0–2s: Tip the pitcher and begin a thin milk stream into the espresso.
2–6s: Continue pouring as pale swirls spread and the level rises below the rim.
6–8s: Return the pitcher upright and lift it away.
8–10s: Let the ripples settle.
Camera and light: Maintain a steady three-quarter close view with a slight push toward the cup. Keep the spout, stream, and surface visible. Preserve the cup, hand, pitcher, countertop, and warm window light.
Sound: Delicate pouring sounds, quiet cafe ambience, and occasional distant dish clinks. Add soft instrumental cafe jazz with mellow piano and lightly brushed percussion, comfortably below the pouring sounds. No vocals, dialogue, subtitles, on-screen text, or logos.
Keep the first version focused on one completed pour. Intricate latte art adds another requirement. For an AI coffee video, simple liquid movement already provides a clear visual process.
Travel UGC: Keep the Camera Attached to the Creator
Playback finding: the selfie viewpoint stayed believable, with realistic movement and expressions. That makes camera ownership an important part of the prompt.
Use a vertical selfie first frame containing the face, upper body, and scenery. The extended arm can establish how the phone is held; the phone itself can stay outside the image.
Prompt
Take: Use the supplied image as the opening frame of a 10-second vertical selfie travel vlog. The woman holds the smartphone at arm’s length, recording through its front camera in one uninterrupted take.
Action:
0–3s: Take two relaxed steps, looking into the lens with a natural smile.
3–7s: Slow down and turn the shoulders and extended arm together, revealing more of the valley while keeping the face in frame. Present the scenery with the free hand.
7–10s: Steady the selfie composition.
Camera: All movement comes from her steps, arm, and small wrist adjustments. Keep the same front-camera viewpoint, person, clothes, path, and landscape. Use natural daylight and ordinary smartphone detail.
Sound: Light wind, faint grass rustle, occasional distant birds, footsteps, and soft jacket movement from the phone’s position. Keep wind noise gentle. No music, dialogue, subtitles, on-screen text, or logos.
For an AI travel UGC video, check perspective as carefully as facial realism. The view should stay within the creator’s physical reach as the scenery becomes visible.
Skateboard Chase: Convey Speed with a Readable Subject
Playback finding: movement remained stable at high speed in the reviewed skateboarding output. The directing goal is to preserve readable action while the surroundings communicate speed.
Start low behind the skater, slightly offset. Include the full body, board, and approaching curb.
Prompt
Take: Use the supplied image as the opening frame of a fast 10-second skateboard chase in one uninterrupted take. Follow low behind and slightly to the skater’s left, about three meters away, keeping the full body and board visible.
Action:
0–3s: Roll briskly toward the curb.
3–5s: Crouch and make one small ollie onto the raised pavement.
5–7s: Land and absorb the impact with bent knees.
7–10s: Straighten and continue rolling quickly.
Camera: Match the skater’s speed. Let textured ground and nearby trees sweep past with natural background motion blur. Keep the rider readable. Rise slightly with the hop and settle through the landing, remaining behind. Preserve real-time motion, the person, board, and route.
Sound: Energetic instrumental breakbeat around 130 BPM, with wheel rumble, passing air, board pop, and landing clack clearly audible. Ease the music slightly around impact. No vocals, dialogue, cuts, subtitles, on-screen text, or logos.
Check the landing separately. High-speed stability does not by itself establish correct foot placement or board contact. Watch the approach, takeoff, landing, and rollout as a connected action.
Film Blocking: Finish on the Character’s Reaction
Directing takeaway: the final push-in should capture the man’s facial performance. The creator’s film-scene notes emphasized how suitable acting and camera movement work together to create a filmic moment.
Stage a seated man at the left of a table, with a woman near the doorway to the rear right, only two short steps away. Place an unmarked envelope between them.
The scene follows a simple dramatic progression:
Approach → offer → refusal → departure → reaction.
Prompt
Take: Use the supplied image as the opening frame of a 10-second dramatic scene in one uninterrupted eye-level take. Keep the camera on the near side of the table.
Action and camera:
0–3s: The woman approaches from the nearby doorway. Dolly gently backward and slightly to camera-left into a balanced two-person composition. Let focus follow her arrival, then keep both faces and hands readable.
3–6s: The man slides the sealed envelope toward her. She gently pushes it back and briefly meets his eyes.
6–10s: She returns toward the doorway. Ease forward toward the seated man, ending in a close-up of his restrained facial reaction, with her departure softly visible behind him.
Lighting: Shape the faces with a soft warm practical key from frame-left, controlled shadow opposite, and cooler rain-lit window separation from the rear right. Keep the background slightly darker, the exchange readable, and the lighting stable during movement.
Sound and continuity: Muffled rain, quiet room tone, soft footsteps, clothing movement, and paper friction synchronized with the envelope. Preserve identities, clothing, room layout, and screen direction. No music, dialogue, subtitles, on-screen text, or logos.
Give the final move a performance to reveal. Review whether the expression remains readable, the approach feels paced to the reaction, and the lighting continues to shape the face as the framing tightens.
Troubleshooting Cuts, Camera Jumps, and Rushed Action
Revise the instruction behind the weakest moment.
Use the visible problem to choose one adjustment. These are suggestions to try, not demonstrated repair results from the reviewed examples.
If you see… | Try changing… | Recheck… |
Unexpected cuts | Describe the same camera’s route through every phase | Viewpoint and space |
Wrong tracking position | Specify position, height, and following distance | Subject visibility |
Action finishes too early | Simplify the sequence or redistribute timing | Rhythm and ending |
Product shape changes | Reinforce key features and simplify handling | Turns and contact |
Selfie becomes an external view | Tie movement to the creator’s arm and body | Perspective throughout |
Music hides action sounds | Request a quieter bed and audible key sounds | Pouring, wheels, impacts |
Keep the original output and change one central requirement for a useful comparison. If a visual state remains unclear, consider compatible reference images or keyframes through the controls available in your chosen workflow.
Create Your Kling Long-Take Video
Start with one clear action, a purposeful camera move, and a planned ending.
Try a long take in Kling 4.0, review the result, and refine one detail at a time.
Choose your scene, write your prompt, and give it a first take.
Kling 4.0 Long-Take Prompt FAQs
Can I adapt these prompts for vertical video?
Yes. Rebuild the framing around the essential action. A selfie needs room for the face and scenery; an unboxing needs room for hands and the product’s movement. Check the intended social-media crop.
Can a continuous long take become a seamless loop?
Plan compatible opening and ending positions, framing, movement, and lighting. Check the visual and audio seam in an editor: an uninterrupted shot does not automatically produce a seamless loop.
Should I generate ambience or add sound later?
Include scene-specific sound direction when it helps establish the setting. For exact music timing or a controlled mix, finish the soundtrack in an editor. Check synchronization independently from the picture.